

DIY KITCHEN JAR LABELS
made with Vinyl and a Silhouette Cameo
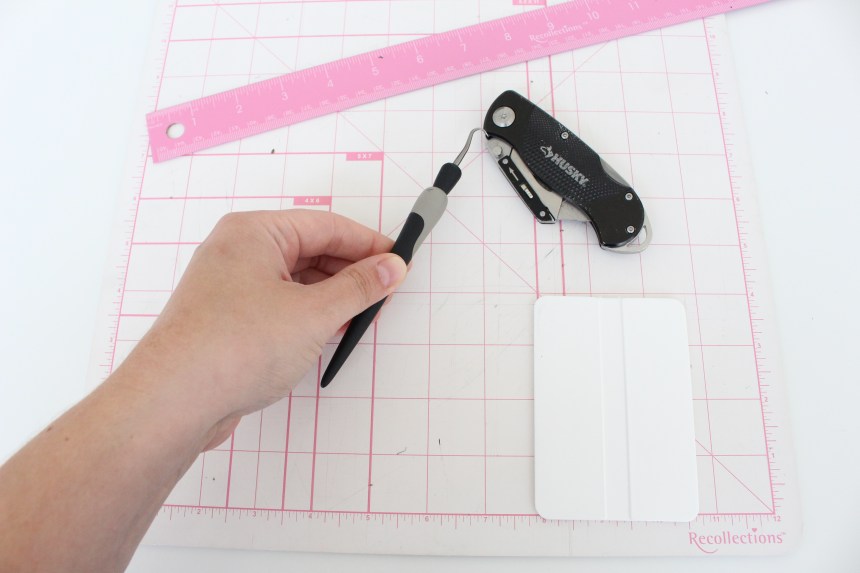
HERE’S WHAT YOU WILL NEED //
Jars (What you currently use will do!)
Silhouette Machine or Circuit
Vinyl
Transfer Tape (I prefer gridlined transfer tape)
Cutting Mat
Ruler
Hook Tool
Exacto or Utility Knife
Vinyl Application Tool (similar)
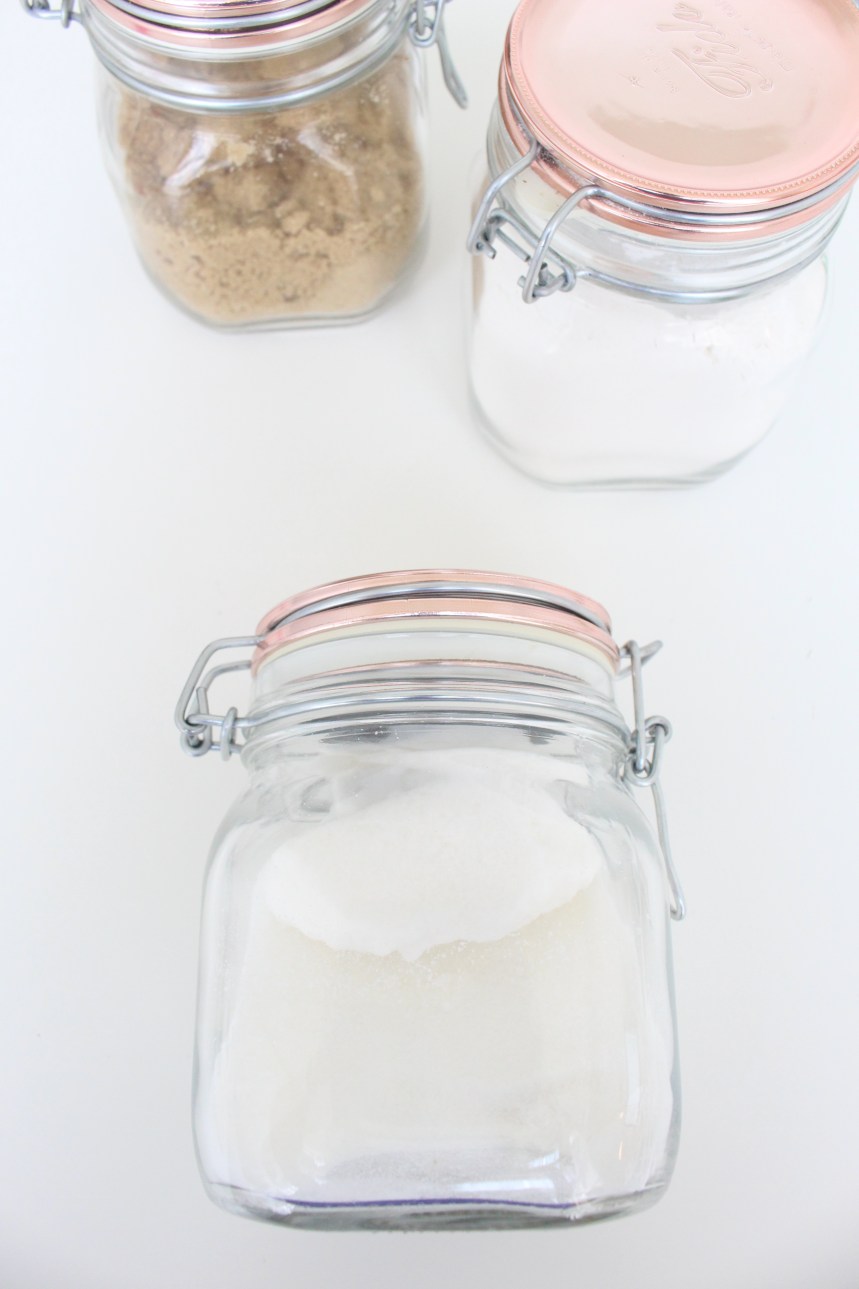
I have chosen a clear jar, somewhat square, however please feel free to use what you own for this project! I believe I bought this at homegoods a year ago!
You will want to wipe down the surface of the jar with rubbing alcohol to ensure the jar is clean for the vinyl transfer.

I use a Silhouette Cameo for all of my vinyl projects. One thing I extremely recommend (I promise you I have learned my lesson with many wasteful vinyl projects gone wrong) is to use a Vinyl Roll Feeder. I had no idea it even existed until I was purchasing my normal Silhouette items on Amazon and came across it!
Once you have the design cut from the machine you are ready to start your DIY!
Before I begin weeding out the excess vinyl, I like to cut around my design, using the ruler, cutting mat and knife, so that I can keep any unused vinyl for a future project! Once you are complete with this step you can weed out the excess vinyl using the hook tool.

As shown above, carefully weed out the excess vinyl around and inside the letters and frame. You will want to continue these steps for all labels that you have created.
I currently have three main jars that I leave out on my kitchen counter, so I started out with just these three, but I’m sure I will be making more right after I write this post!
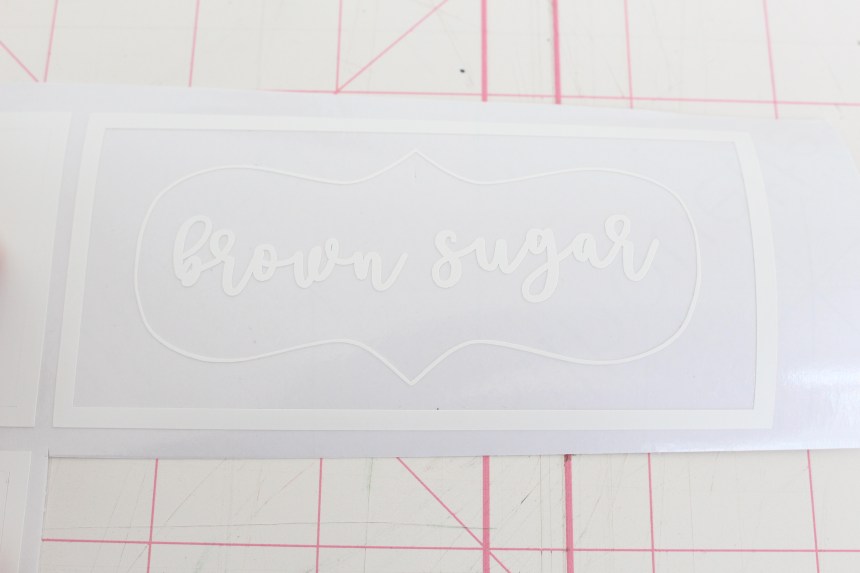
Weeding is complete! As you can see from the above photo, when I created the design I placed a frame around my entire design so that it was easy to weed out the vinyl and not waste good vinyl that could be used later!
This simple trick I actually learned from Expression Vinyl! Check out their page on Youtube. I promise it’s worth the watch!
You will then want to cut around the inside of the frame using your knife and this will give you a straight box that will help you when placing on the transfer tape.

This is the amazing clear gridlined transfer tape I was telling you about! I had used the Silhouette Transfer tape prior to buying this from Expression Vinyl (link above), and man what a difference this tape made! And please DO NOT throw away the transfer tape when done; you can continue to use the same piece for other projects! YAY! a time savor and a money savor!
It sticks so quick and I give zero effort when pulling the vinyl up with the tape because it comes off the paper backing so easily. (For our beginners, the paper backing is what the vinyl is originally on.)
Trust me anything that is a timesaver is a plus, because some DIY’s aren’t as quick as others! (We all want more time for wining and dining!!)

Place the transfer tape over your design. What I love about the gridlined version of transfer tape is the ability to line up the edges and ends of the paper backing. This will be extremely helpful when placing the design onto the jar.
For those of you that spend a lot of time using HTV and having to remember to mirror your design (guilty of forgetting a million times!), you DO NOT want to mirror your design for this type of project. This is a adhesive vinyl with the sticky part on the back. The transfer tape is pulling the front part of the vinyl (non-sticky) off of the paper backing so that our design is easily transferred to the final surface. If you did not have the transfer tape, trust me your design would not be pretty!
As you can see here I am using the application tool to rub down the tape onto the vinyl to ensure their are no bubbles and that the tape has captured all pieces of my design.

Look at this beauty! Like I said no effort at all. I have had a perfect peal every time and so happy for it!
Start from one end and slowly peel off the paper backing. Being that this design is much smaller than lets say a wooden sign, I prefer to take the entire paper backing off at once. For bigger projects, you may want to just peel off the paper backing on one side and stick that side onto the surface first so that the remaining part of the design is still secure.

You will need a good eye for this part! Being that the tips of the frame were the center of the design it was easy to center it onto the front of the jar. Once you are happy with where you have placed it, use the application tool to press down the vinyl. I recommend starting from the center and applying one side of the design down first and ensuring all air bubbles are gone. Repeat this step on the other side.

Once you have applied the entire vinyl design, you can pull off the transfer tape and ta-da your DIY is complete! Doesn’t it look great!! Your guests will love it and you’ll never confuse salt and sugar again, HA!
I wanted to add this above picture for you to see how I ensured that my other jar labels were placed at the same height as the first jar. Place the vinyl slightly onto the jar (you will want to be able to move it in case adjustment is needed), and eye it out with the first jar next to it.

And that completes this DIY: Kitchen Jar Labels! See how quick and easy that was!
Thank you for taking the time to read through (or just look at the pictures!).
For additional home decor inspiration or party details please visit my Instagram!
